Install a free e-mail server easily and quickly
Quite often I have the need for an e-mail server when doing demos, PoCs and general testing in regards to i. e:
- The report subscription feature in System Center 2012 R2 Configuration Manager
- The alert subscription feature in System Center 2012 R2 Configuration Manager
Even though we could use an existing mail server, this normally create problems because we might not have access to it due to the fact that our testing environment normally is isolated from our production environment. So the solution is to install an e-mail in my environment.
That leads to a new question – which one should I install because there exists a lot of different e-mail server solution that one can use. We could go for Exchange 2013 if we have access to it i.e via MSDN but it is not particular easy nor fast to install and it is not free. If you nevertheless choose that route have a look at this script which will automate the entire process for you: http://eightwone.com/2013/02/18/exchange-2013-unattended-installation-script/
I have tested a lot of different free e-mail solution over the years to find one that was free, fast (max 5 minuttes) to install and configure. For the last couple of years I have used SmarterMail from SmarterTool Inc. SmarterMail Free Edition has support for one domain, 10 mailboxes, an excellent web interface and is very easy to setup if you just need it for testing.
To download the free edition of Smartermail 12.x go to http://www.smartertools.com/smartermail/mail-server-download.aspx and download the MSI installer by clicking on the Primary link

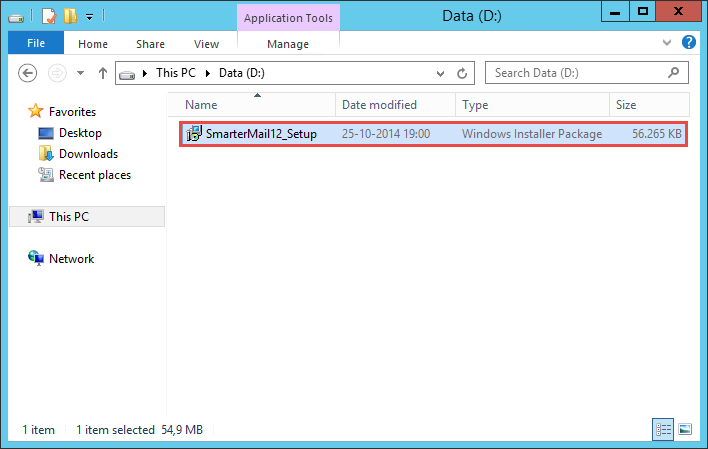
When you have downloaded the SmarterMail12_Setup.msi file copy it to the server where you want to install your mail server.
Install Smartermail
Double-click the SmarterMail12_Setup.msi to start the installation
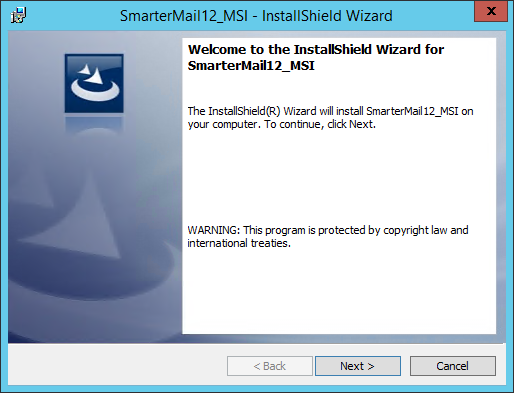
On the Welcome to.. page of the SmarterMail12_MSI – InstallShield Wizard, click Next
On the License Agreement page of the SmarterMail12_MSI – InstallShield Wizard, select I accept the terms in the license agreement and then click Next

On the Destination Folder page of the SmarterMail12_MSI – InstallShield Wizard, click Next

On the Ready to Install the Program page of the SmarterMail12_MSI – InstallShield Wizard, click Install

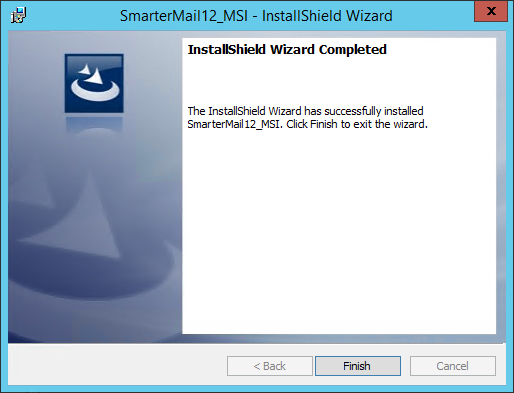
On the InstallShield Wizard Complete page of the SmarterMail12_MSI – InstallShield Wizard, verify that the installation completed successfully and then click Finish
Note: leave the Internet Explorer window open.
Smartermail setup
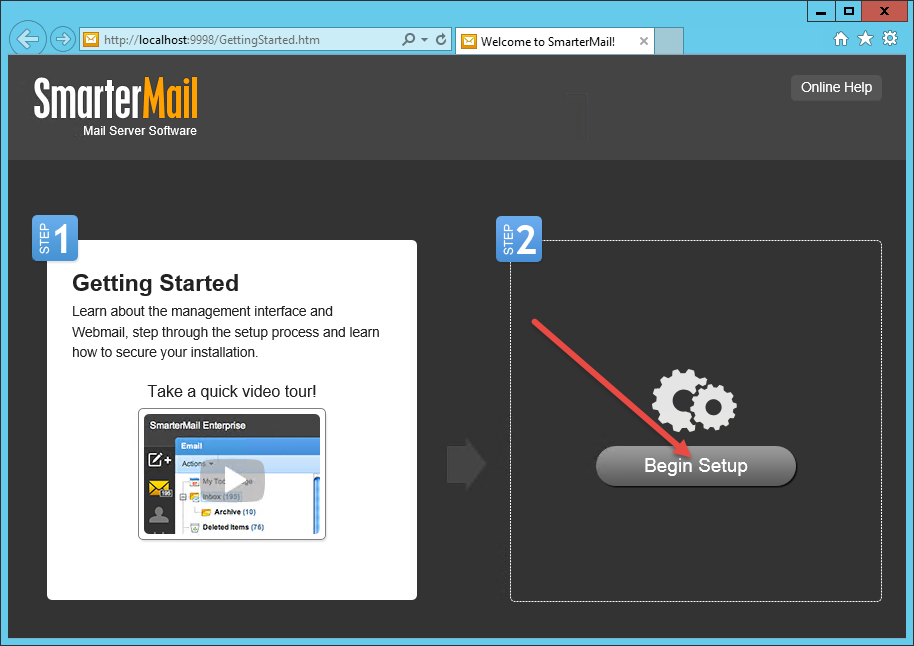
In the Internet Explorer window that opened when the Smartmail installation finished, click the Begin Setup button
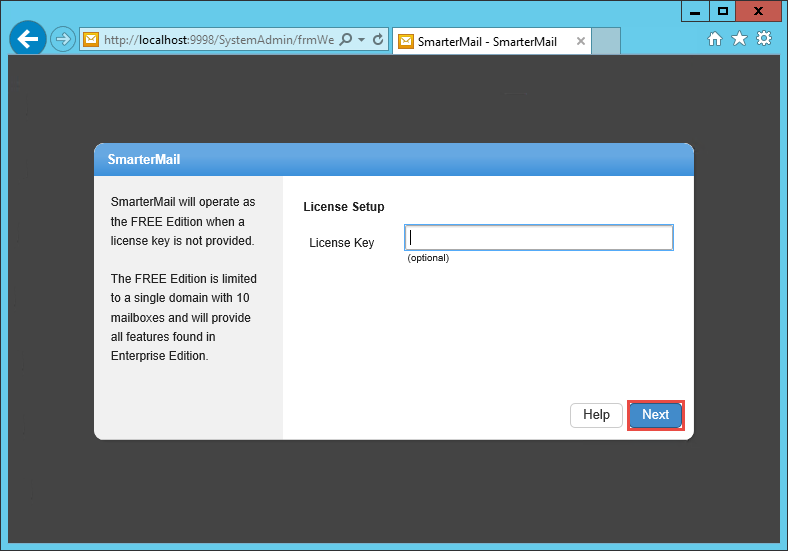
On the License Setup page, click Next
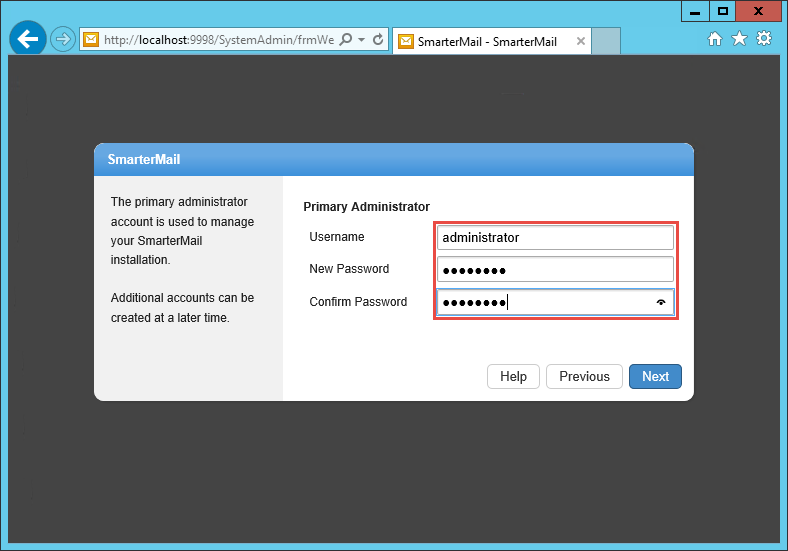
On the Primary Administrator page, fill in the following information and then click Next:
Username: administrator
New password: Choose a new password
Confirm password: retype the password
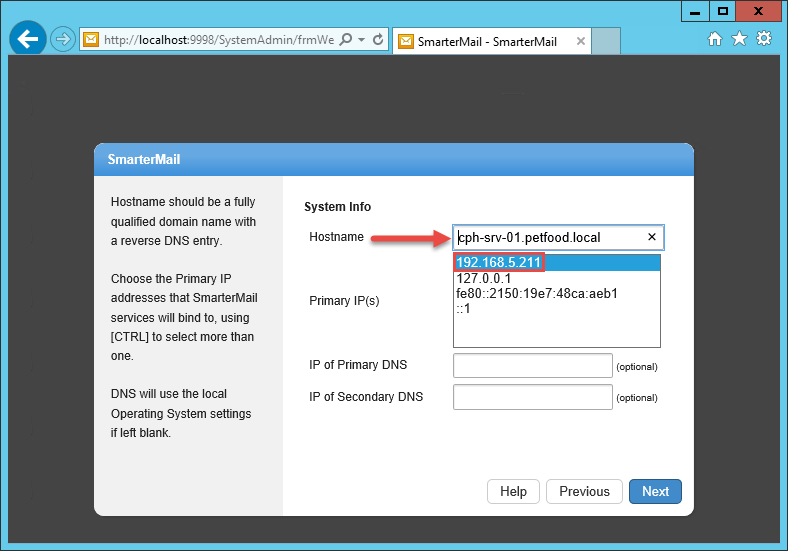
On the System Info page, verify that the FQDN of the server where you installed Smartermail is listed in the Hostname field and that the IP address of the server is marked in the Primary IP(s) field and then click Next
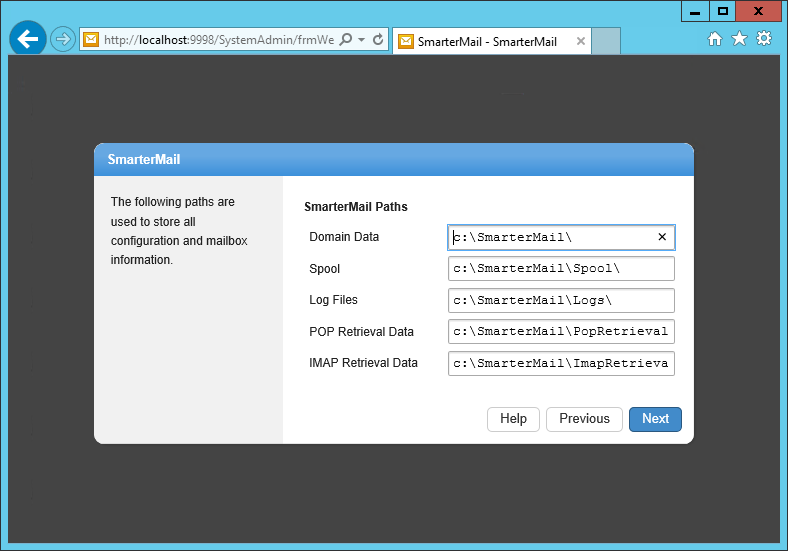
On the SmarterMail Paths page, click Next
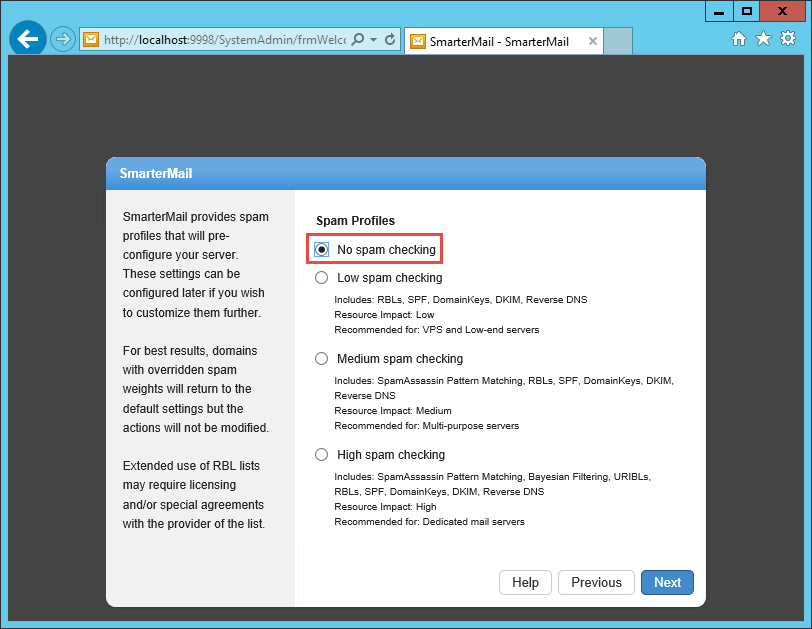
On the Spam Profiles page, select No spam checking and then click Next
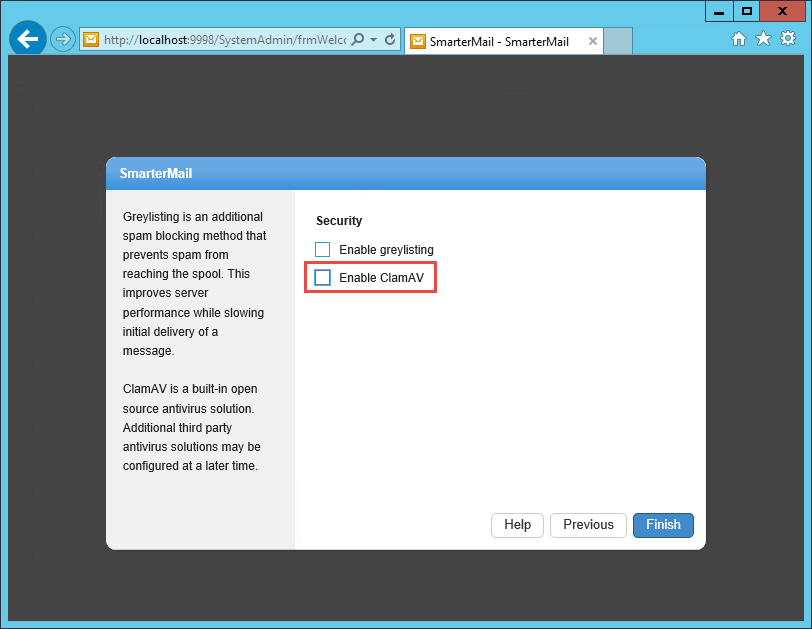
On the Security page, remove the check mark next to Enable ClamAV and then click Finish
Configure Smartermail
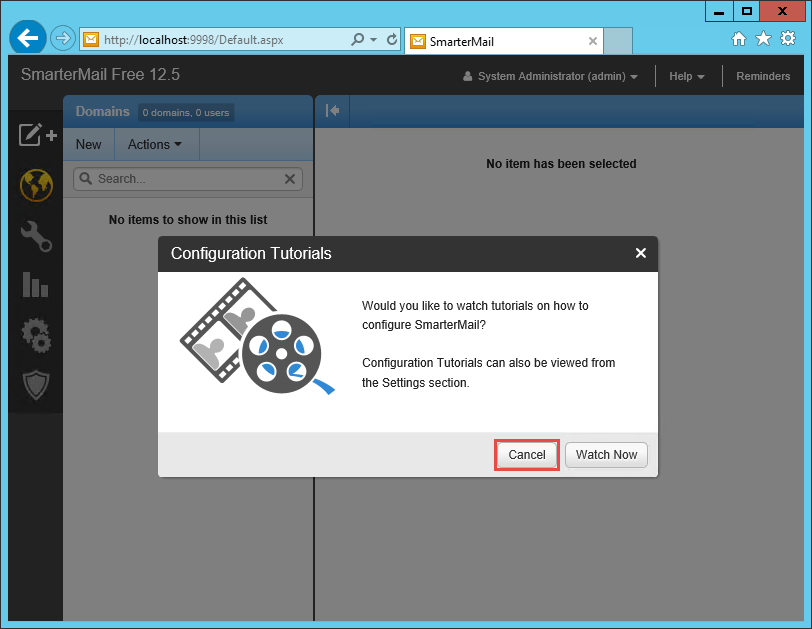
In the Configuration Tutorials window click Cancel
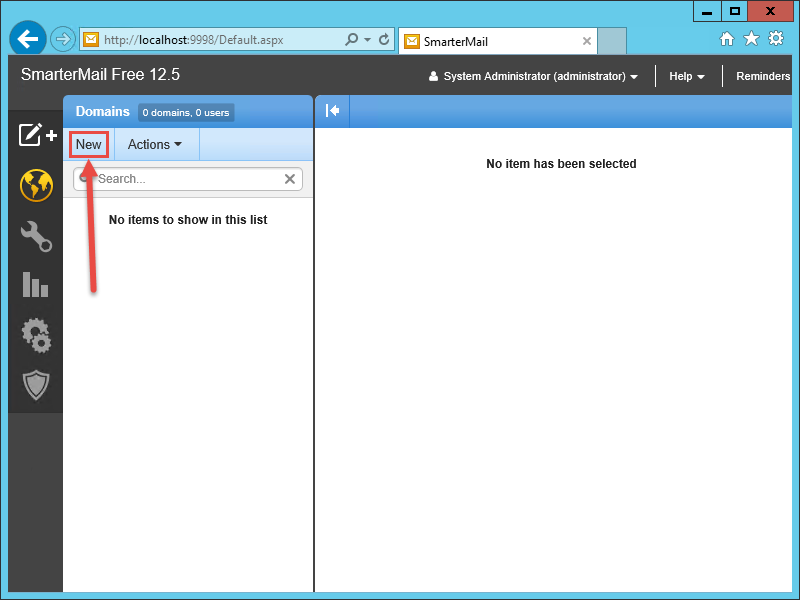
In the SmarterMail Free 12.5 web administration console, click New under Domains
In the Domain – Internet Explorer window, fill in the following information and then click the Features tab:
Name: The name of your mail domain i.e petfood.local
Domain Administrator Username: Domain Administrator in Active Directory i.e Administrator
Domain Administrator Password: Domain Administrator password
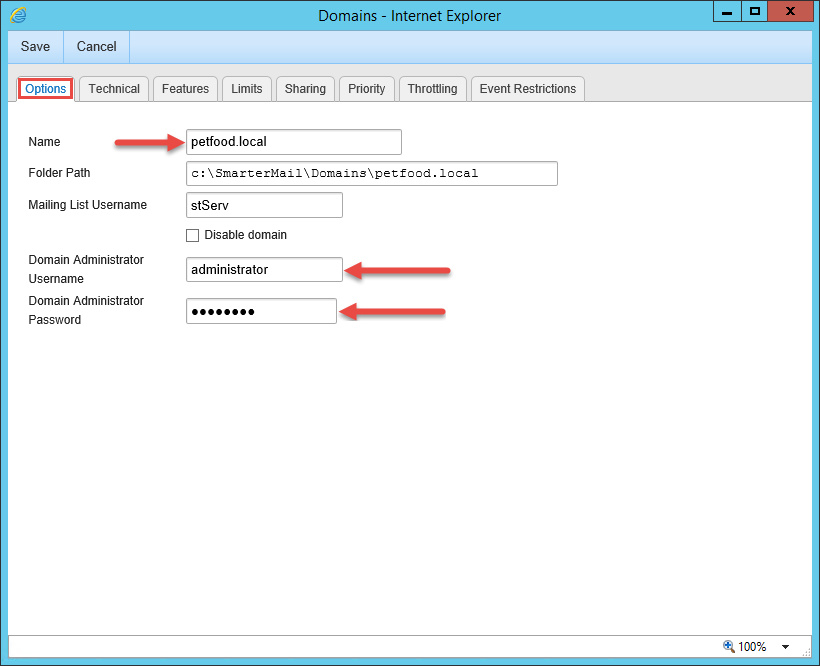
On the Features tab, select Active Directory Integration and then click Save

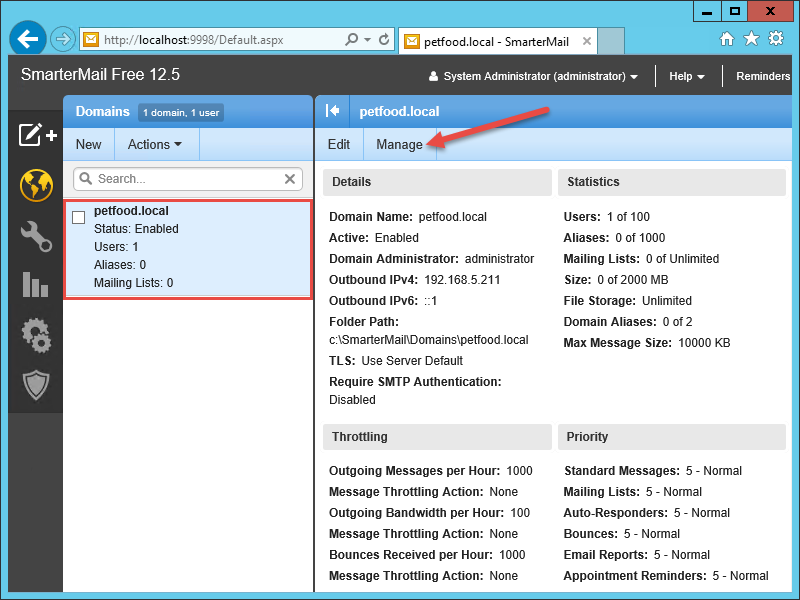
Back in the SmarterMail Free 12.5 web administration console, verify that the domain you just added is listed under Domains and then click Manage
Adding mail users to Smartmail manually
In Smartermail you can add users in two ways – either create the user manually or import already existing users from Active Directory. If you decide to add Users manually you will need to supply all the information yourself and password used for the users mail is not neccesarily the same one used for that user in Active Directory. The following step will show how to add users manually.
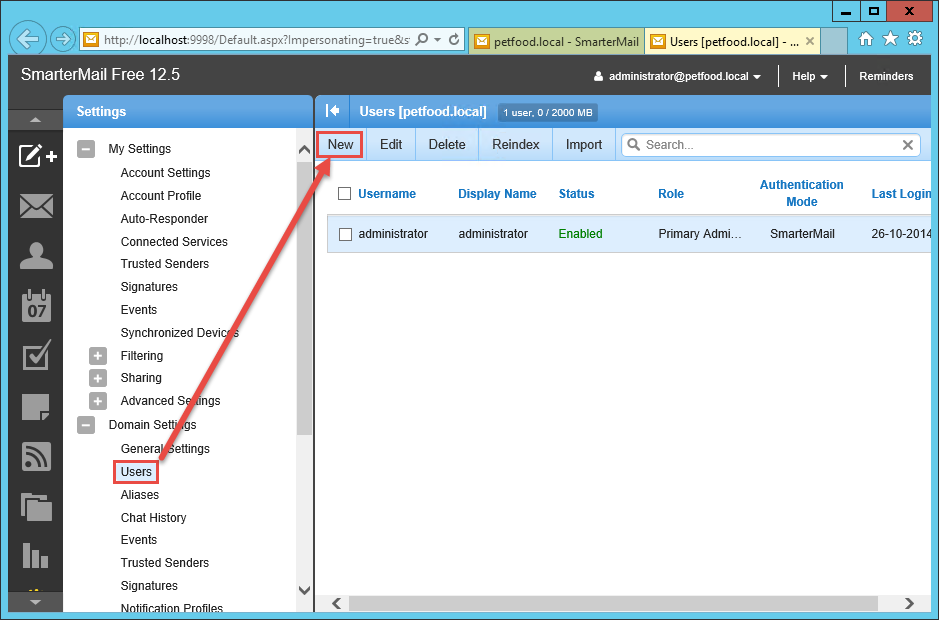
In the new Internet Explorer window that opened when you clicked Manage, select Users in the navigation pane (to the left) and then click New in the details section (right)
On the Users tab, fill in the following information and then click the Webmail tab:
Username: name of the user i.e John
Password and Confirm password: The password the user need to use in order to read his e-mail
Display Name: John Reese
Time Zone: Your timezone i.e (UTC+01:00)….
If you need to access your mail using either POP or IMAP select those as well

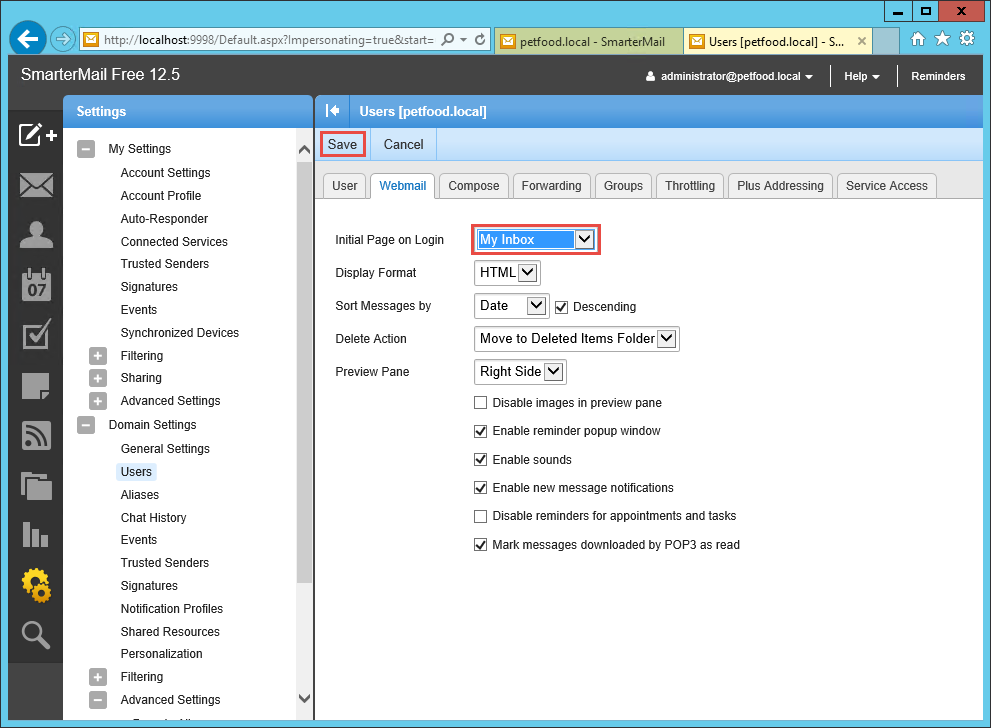
On the Webmail tab next to the Initial Page on Login, select My Inbox and then click Save
Back on the Users [petfood.local] page, verify that the user you just created is listed

Importing Active Directory users into Smartmail
If you want to import users from Active Directory you must first enable Active Directory Integration like we did in a previous step. The password for the users mail will be the same as the one used in Active Directory.
In the new Internet Explorer window, that opened when you clicked Manage earlier, verify that Settings is selected. Then click Advanced Settings and select Import LDAP Users.
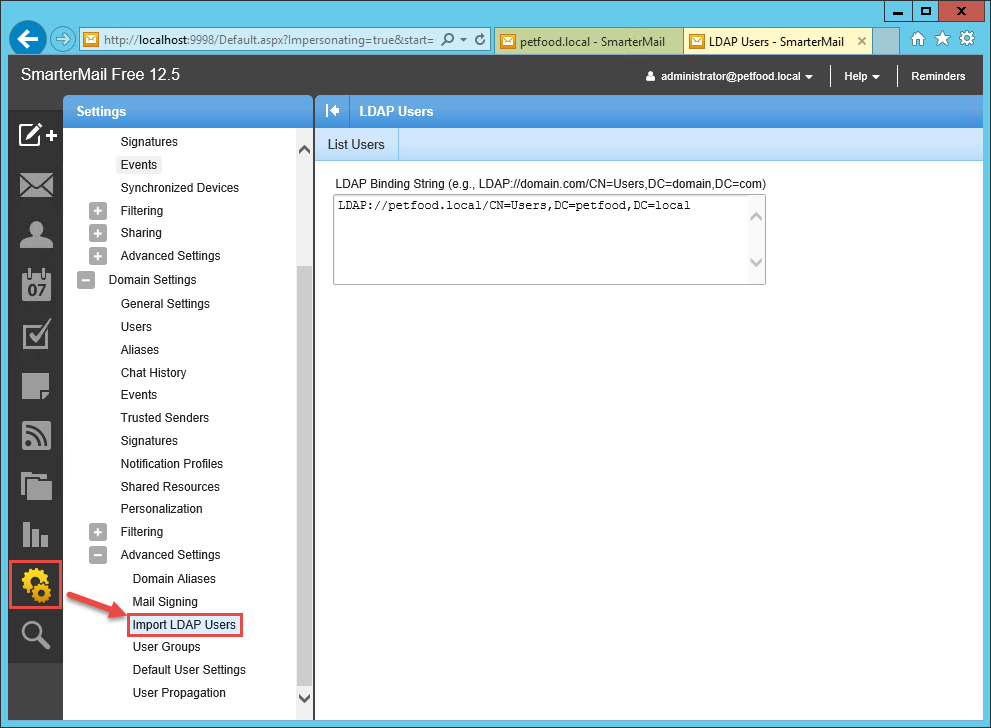
In the LDAP Users section, change the LDAP Binding String field to LDAP://FQDNofDomain/DC=DomainName,DC=DomainTLD so if your Active Directory domain is called petfood.local you would change the LDAP Binding string to LDAP://petfood.local/DC=petfood,DC=local. This will give you a list of all the users (and computers) in your Active Directory domain. Then click List Users

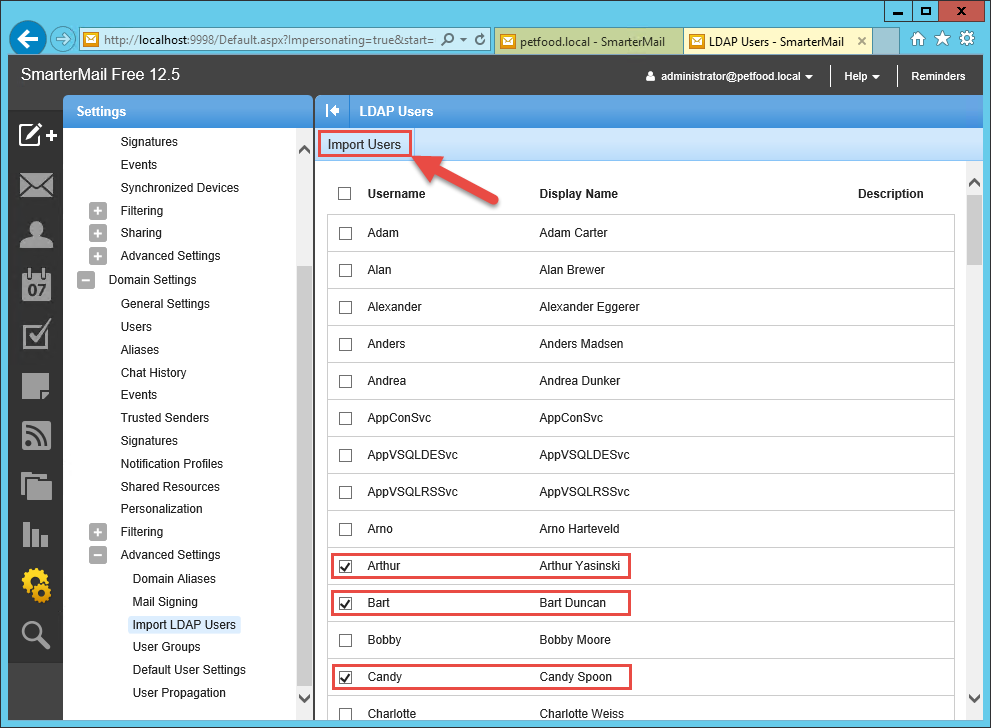
Still in the LDAP Users section, select the users that you want to create a mailbox for and then click Import Users. A green box will appear at the top indicating that the users you selected have created.
Note: remember that you can only create a maximum of 10 mailboxes in the Free Edition and one is used for the Administrator
In the navigation pane (to the left) under Settings, click Users and verify that the users you selected have been created. Notice that the users will use Active Directory as Authentication mode.

Accessing a users´ mailbox
Open Internet Explorer and type the following URL: http://NameofSmartermailServer/:9998 so if you installed Smartermail on a server named cph-srv-01 you would type: http://cph-srv-01/:9998
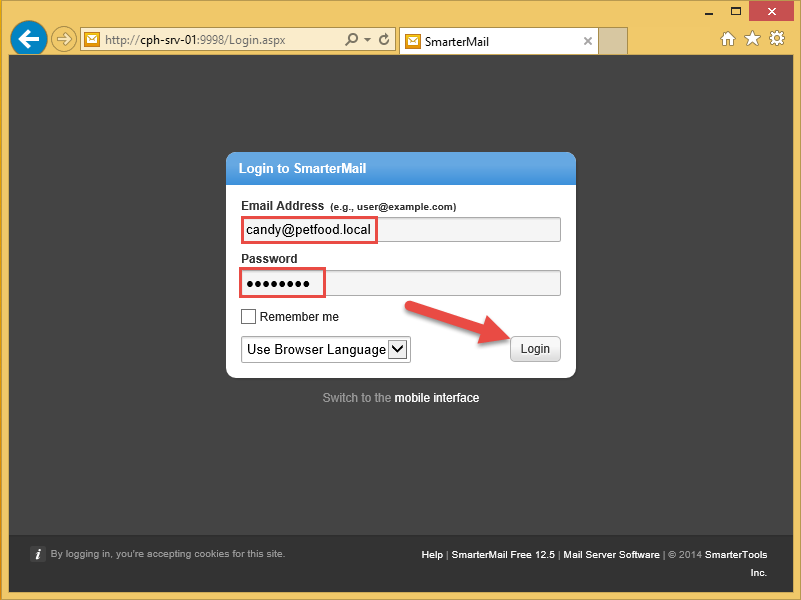
In the Login to SmarterMail window, fill in the following information and then click Login
Email Address: user@domain.tld i.e candy@petfood.local
Password: If the user was imported from Active Directory use the Active Directory password otherwise use the password choosen when the user was manually created
In the SmarterMail Account Wizard window, select your Time Zone and Country (Optional) and the click Finish
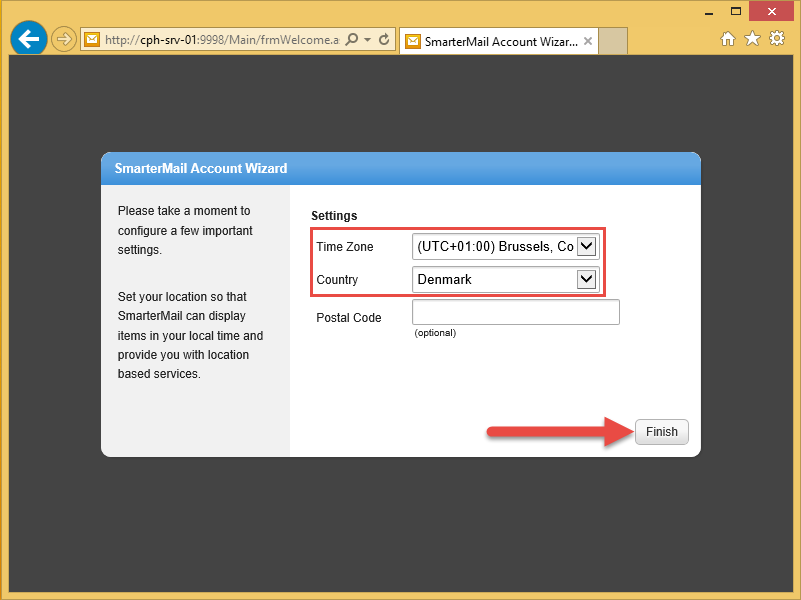
Click Inbox under Email section and you are now ready to send or receive e-mails.

By default, SmarterMail installs a basic web server that allows administrators to start using the application immediately after installation. However, it is recommended moving to a more robust and secure Web server, such as Microsoft IIS. You can find more details about this here: http://portal.smartertools.com/kb/a2814/set-up-smartermail-as-an-iis-site-in-iis-8.aspx?KBSearchID=616439
As a side node it is worth mentioning that SmarterMail delivers Microsoft Exchange-level email server software and instant messaging for a fraction of the cost of Exchange. It also supports Exchange Activesync and Exchange Web Services (Addon). And no – this post is not sponsered in any way by SmarterTools.